Southwest Florida’s premier builder of high-end custom pools and outdoor escapes
Learn What Happens During Your Pool Build
At Infinity Custom Pools, we believe in making the custom pool experience enjoyable and predictable. Our proven 16-step construction process ensures high-quality construction, strict adherence to local codes, and your complete satisfaction. We use top materials for durability in SWFL’s heat and humidity, keep you updated with progress photos/check-ins, and leave your yard cleaner than we found it. Most builds take 8-16 weeks—let’s get started!
Details That Define Your Custom Pool
Efficient, Reliable, Pool Construction Services
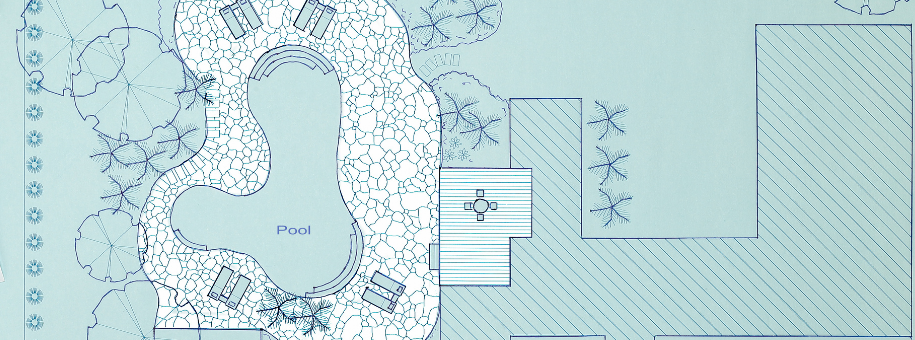
Step 1: Pre-Construction Meeting
About 1 week before breaking ground, we meet at your home to review final plans, confirm options (tanning ledges, deck jets, etc.), discuss access/landscaping protection, and answer questions. We set expectations and get your approval to start.
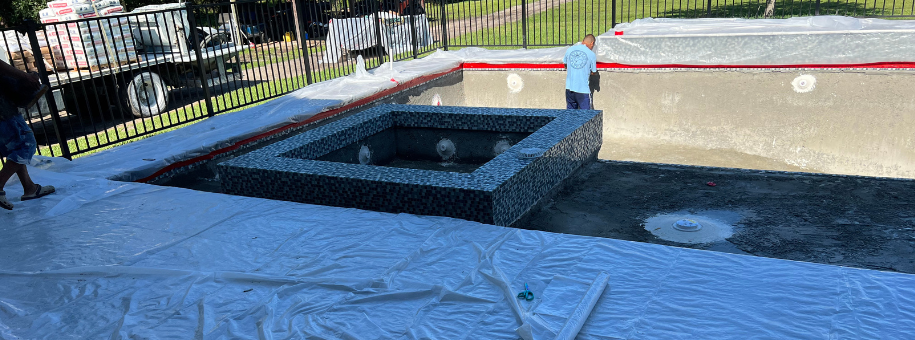
Step 2: Scalp, Layout, Dig & Steel
We gain safe yard access, scalp grass/topsoil in the build area, mark exact pool layout, excavate to precise depths, and install steel rebar cage per engineering specs. This creates a rock-solid base tailored to SWFL soils and codes.
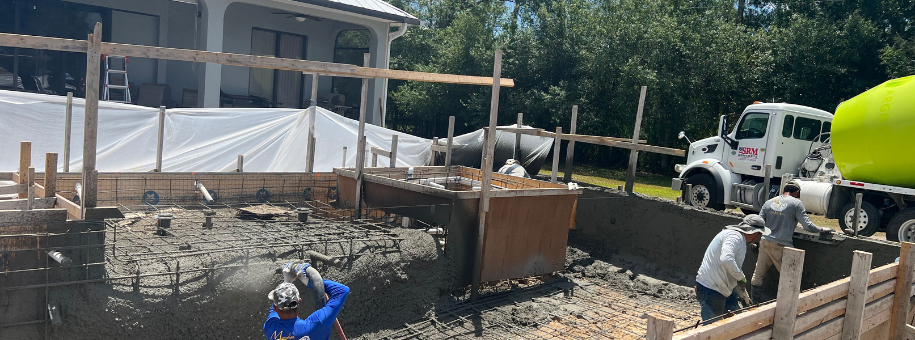
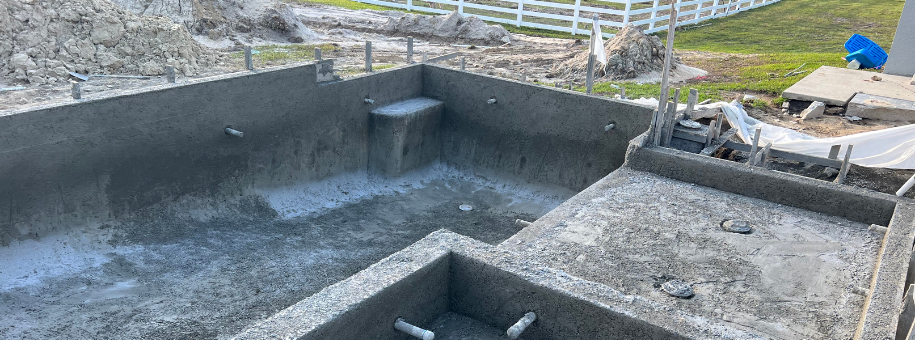
Step 3: Gunite
After passing initial inspection, our crew shoots high-strength gunite (or shotcrete) to form the pool’s monolithic shell. This method provides superior durability against Florida’s ground shifts, humidity, and heavy use—far better than basic pours.
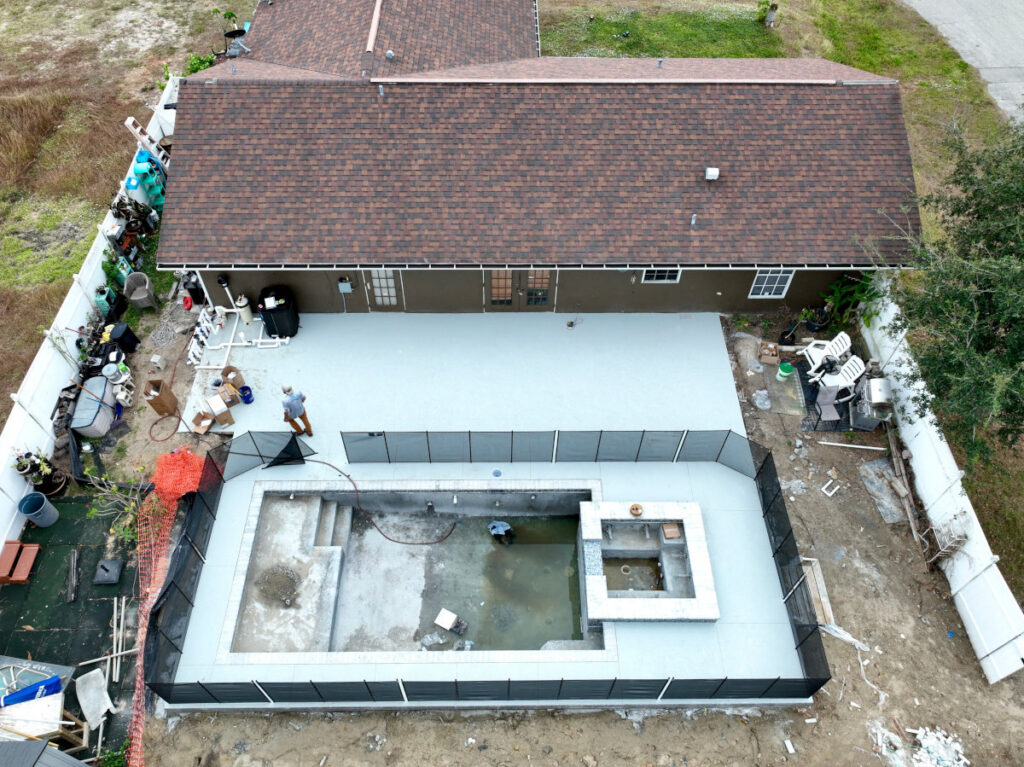
Step 4: Strip & Grade
Once the gunite cures, we strip away forms and perform rough grading around the pool base. Trenches remain open for plumbing completion, ensuring proper drainage and a clean transition to later steps.
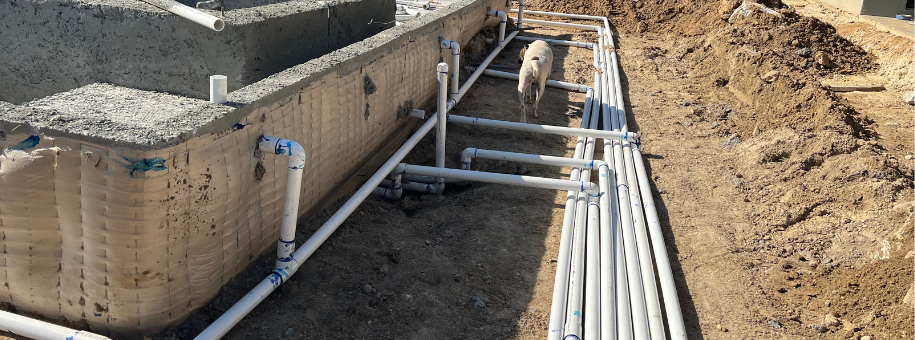
Step 5: Pool Plumbing
We complete all plumbing installation (returns, drains, water features, deck jets, etc.), pressure test connections for leaks, handle any required inspections, and finish rough grading. Quality PVC lines ensure optimal flow and energy efficiency for your custom setup.
Step 6: Footers & Pool Equipment Pad
We pour concrete footers around the perimeter and the dedicated pad for pool equipment. This provides stable support for decking (pavers, tile, etc.) and ensures everything is level and built to last in our coastal climate.
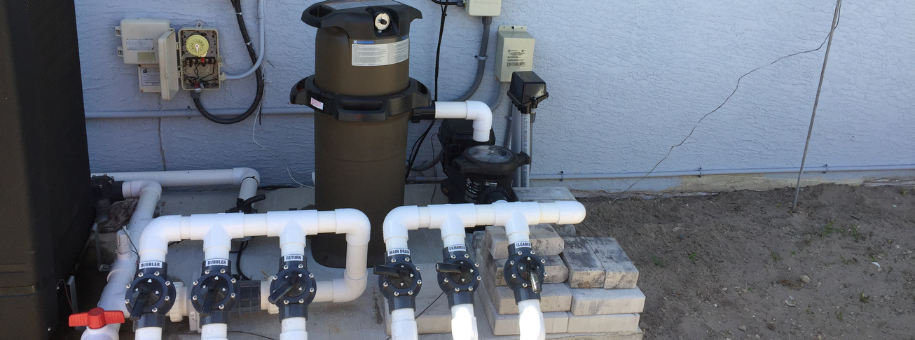
Step 7: Pool Equipment Delivery & Installation
After the pad cures, we deliver and install your pool equipment: filtration, pump, chlorination/salt system, heaters, controllers for lights/waterfalls/deck jets, and more. We use trusted brands for low maintenance and lower energy costs.
Step 8: Coping & Tile
We install coping (the transition between deck and waterline) and any accent tile inside the pool or around features (waterline mosaics, glass, etc.). This step brings luxury and a seamless, beautiful look.
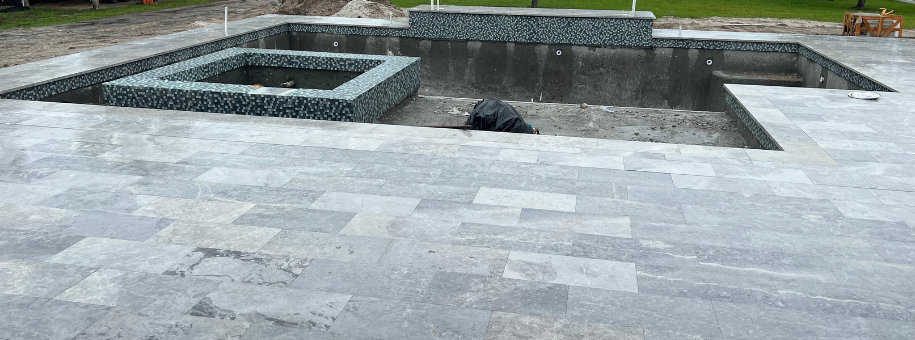
Step 9: Paver Deck Installation
Install your chosen decking—pavers for timeless appeal, travertine for elegance, stamped concrete, cool deck, or other options. We ensure slip resistance, heat reflection, and perfect integration with your home and landscape.
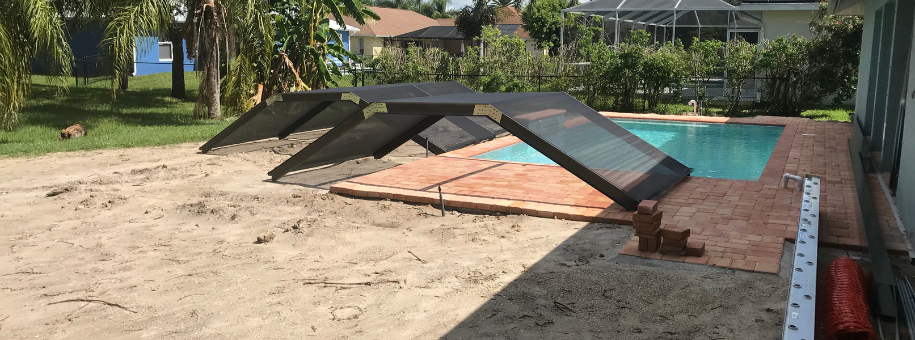
Step 10: Cage Measure
If you’ve selected a screen enclosure (pool cage), we take exact measurements, order materials (aluminum framing, doors, screening), and prepare for installation—ensuring a perfect fit for bug-free, year-round use in SWFL.
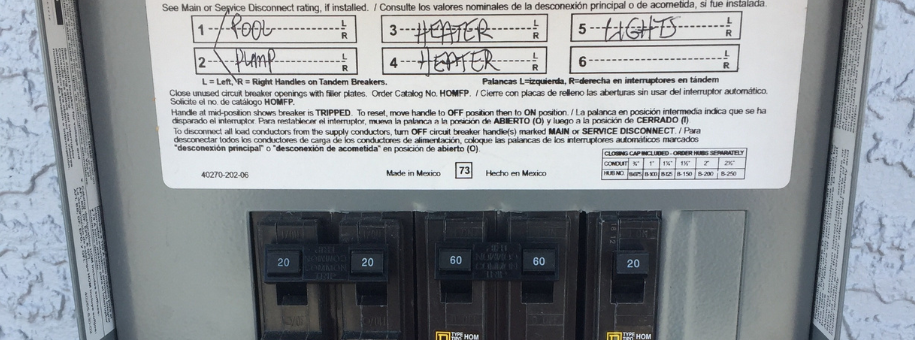
Step 11: Electrical Hookup
Our licensed electrician connects power from your breaker box to the pool area, bonds water lines to ground (for shock protection), and completes inspections. Everything is wired safely for lights, equipment, and smart controls.
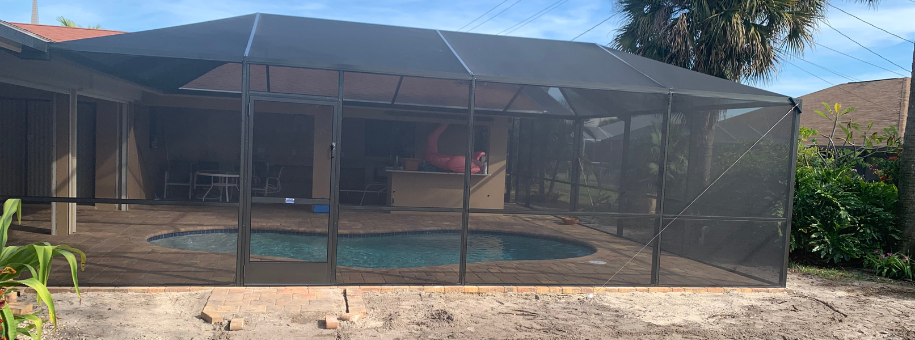
Step 12: Cage Installation
We erect the aluminum framing, install doors, and attach durable screening material. The result: a sturdy, attractive enclosure that keeps out debris/insects while allowing breezes through—ideal for Florida living.
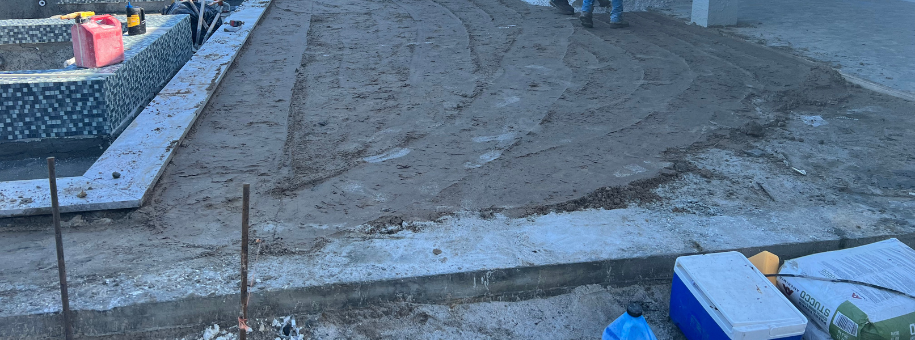
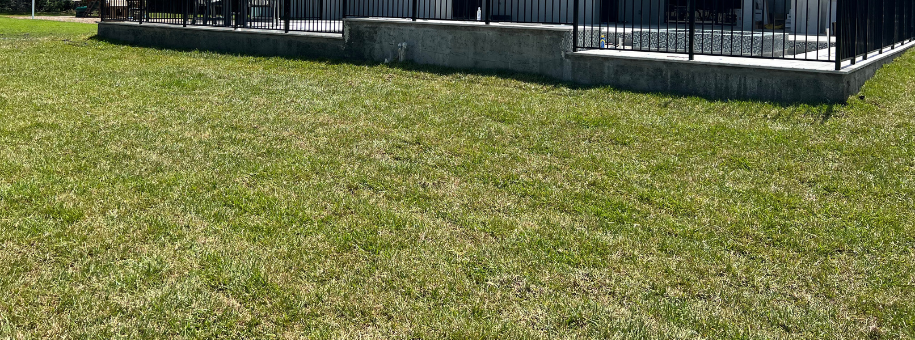
Step 13: Final Grading
Complete final grading around the pool, deck, and access paths to ensure proper drainage and a smooth base for sod, plants, or hardscaping—blending your new oasis seamlessly with your yard.
Step 14: Pool Plaster
We apply high-quality plaster (or your chosen aggregate finish) to the pool interior. This creates a smooth, durable, slip-resistant surface that looks stunning and holds up well in our sunny, humid climate.
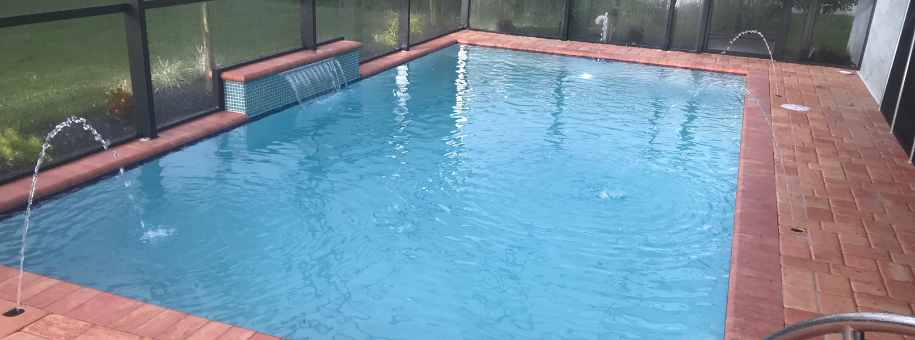
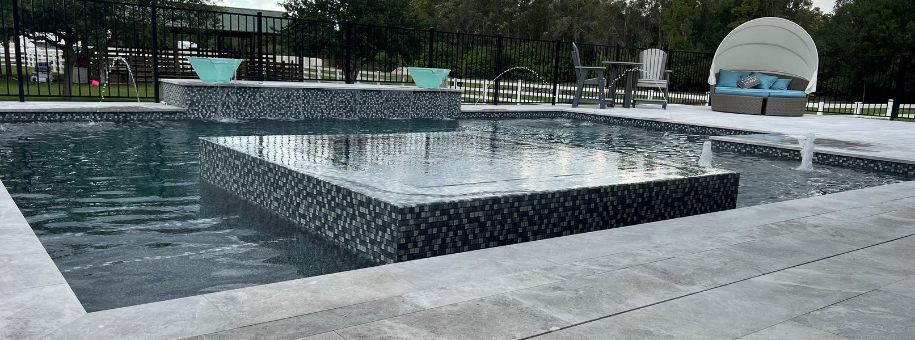
Step 15: Pool Fill & Startup
Fill the pool with water, startup equipment, add and balance chemicals, test all systems (pumps, lights, features), and fine-tune for perfect operation. We walk you through basic care so you’re ready to enjoy it right away.
Step 16: Final Inspections
We coordinate and pass final inspections from local building authorities (structural, electrical, plumbing). Once cleared, your pool is officially ready—time to make memories!
We're Driven To Exceed Expectations
Let's Talk About Your Custom Swimming Pool
Our process starts with a free, no-obligation at-home consultation where we listen to your ideas and assess your space.